
The exceptional technology that aligns colourful leather patterns and twisted threads in intricate play of ornamental designs is called кайылы (каюлы) күн – Kaiyly Kün – in Tatar language: from word kaiy 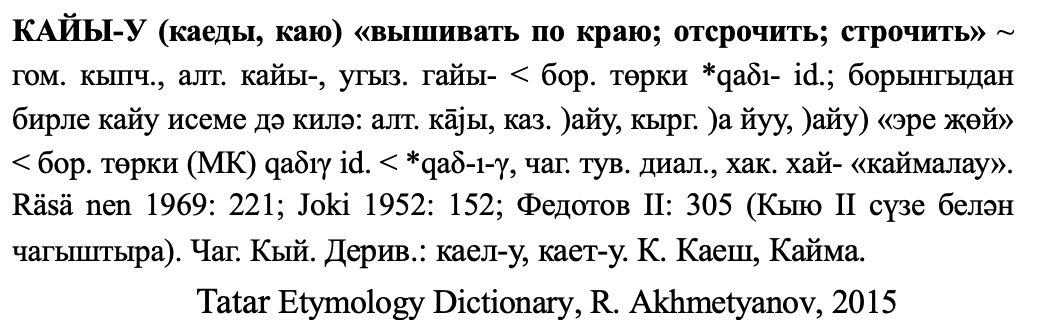 meaning “to embellish the edge” and kün meaning “leather”. In English, the best alternative is Tatar Leather Mosaic (such terms as inlaid leather, patterned leather, mosaiced leather, узорная кожа are also found in literature).
The process of working the leather mosaic is tedious, but creative. It starts by developing ornamental patterns and choosing color combinations of leather and threads. Then the patterns are cut and stitched by hand. Depending on the complexity of the chosen design, it can take from a week to several months to perform a decorative stitching. When the patterned mosaic is ready, the leather piece is dampened and stretched. The last stage is the incorporation of the mosaic into the specific item (boot, bag, pillow, jacket, belt, chair cover, wall art).
To give an idea of the process of crafting the leather mosaic wıth kaıyly kün technology, follow the basics below. You can also watch Master-class by Aigel Salakh ( is narrated in Russian with Tatar subtitles).
- Creating design and patterns

- Sketch a design idea on paper with thorough consideration of symmetrical layout, available colours of leather and thread (view an example here).
- Copy the patterns on coloured paper and cut each out.
- Keep them handy for Step 3 and 8 handy.
- 2. Preparing leather, thread, tools
- Obtain leather pieces and scraps with a thickness between 1/32 – 3/64 inches (or 0.9-1.1 mm). A simple trick on how to know if the leather piece is suitable for creating a mosaic structure, is to squeeze the leather in your hand for several seconds. When released, the leather should remain smooth without visible lines and wrinkles.
- The leather color choices are dependable on the ornamental design you created.
- Kazan stitch requires two types of thread: polychrome or synthetic polyester, and embroidery or silk. Silk thread is used for stitches that are visible on the face si
 de of the mosaic. Silk threads are arranged in twisted spirals: It gives a distinctive and beautiful contour between parts of ornaments.
  Polychrome thread is the hidden core for the spirals of the embroidery thread. Its purpose is to hold the leather patterns and spirals of the embroidery thread tightly together. The size of polychrome thread should be between 18 and 30. One reel is sufficient for one project. Silk threads should be selected based on your ornamental design and twisted before you start.
 - Have beeswax handy: It is needed to coat the polychrome thread in order to protect the thread and make stitches stronger.
- Following tools are required: Awl for stitching (look for size 57 mm (2 ¼ in); knife, scissors ; needle (egg-eyed harness needle), self healing cutting board.
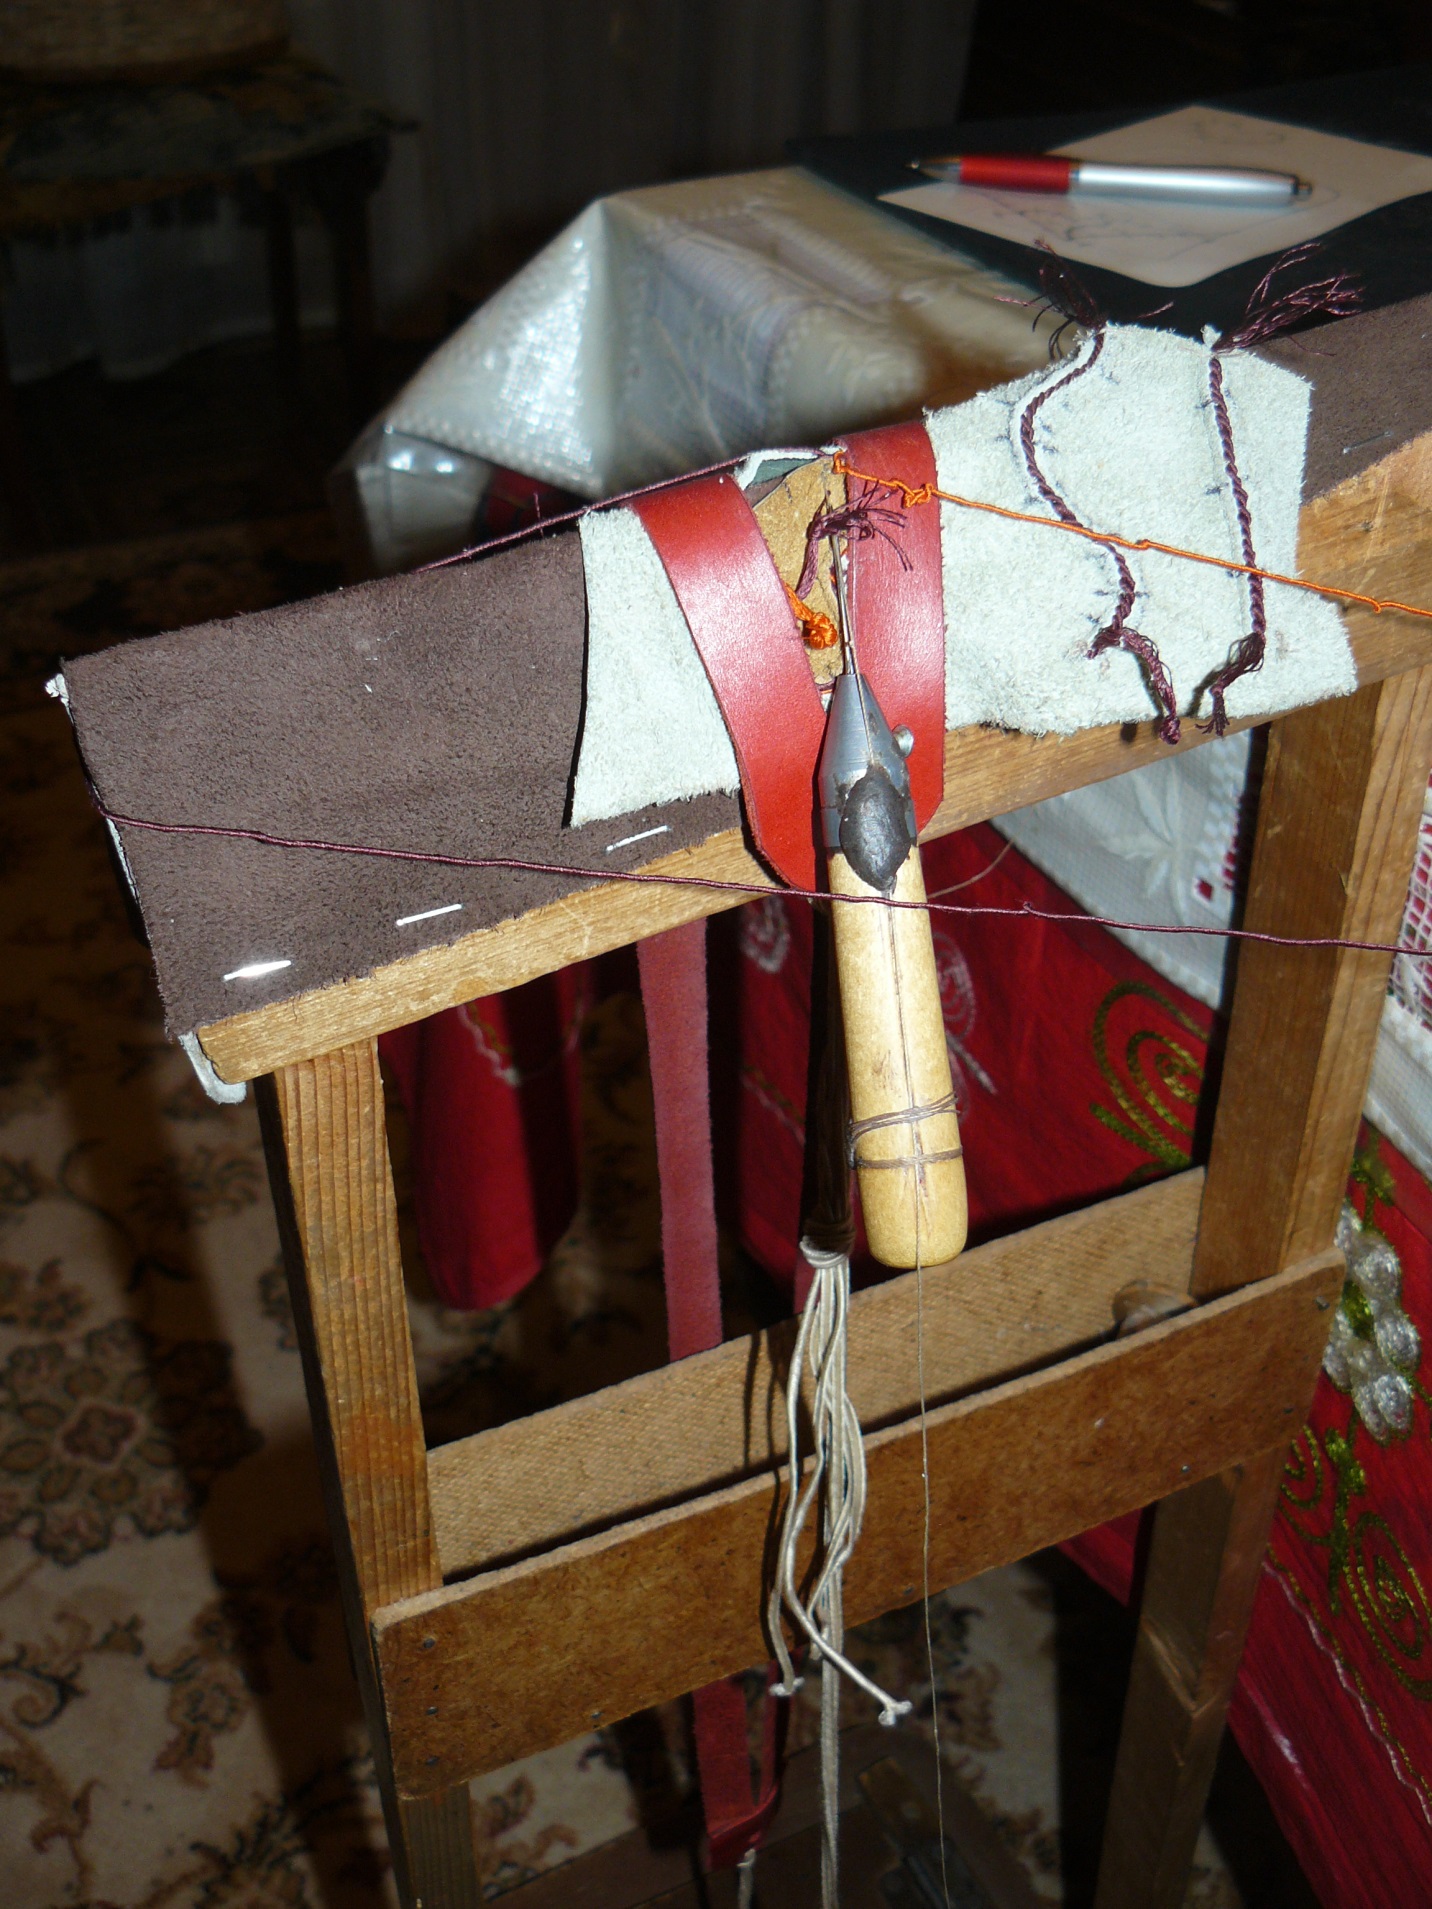
- Wooden stitching stock with leather strap serves as a working platform for leather stitching. The leather strap would tightly hold the working leather surfaces, so they do not move while stitching. There are two types of wooden stock:


Full size placed on the floor (left photo): The pressure that pulls the strap and pushes the wooden plank on the bottom of the stock is applied by foot.
Compact size placed on the workbench (right photo): It is mounted on the table. The leather strap is the same as in the full size model. The pressure is provided by pulling the lower end of the strap by foot.
3. Cutting leather patterns
Have the following ready: cutout paper patterns, leather pieces of selected colors, sharp knife or scissors, cutting board, pen, masking tape, good light and a firm, flat surface.
- Take one leather piece of chosen color, and position it on the board with face side down either from head to tail or from side to side, never diagonally.
- Tape the leather with masking tape to the board.
- Trace one pattern at a time with pen on a specified leather color.

- Keeping the knife upright, cut through the leather by exerting firm, downward pressure. Make cutting strokes as smooth as possible. For long, straight lines use scissors.
- When done cutting out each pattern, place on the workbench. Make sure that all bigger parts of the planned items (like background) are placed in one direction (preferably vertically). Place bigger patterns closer to the center of the leather, place smaller details closer to the edges of the leather cut.

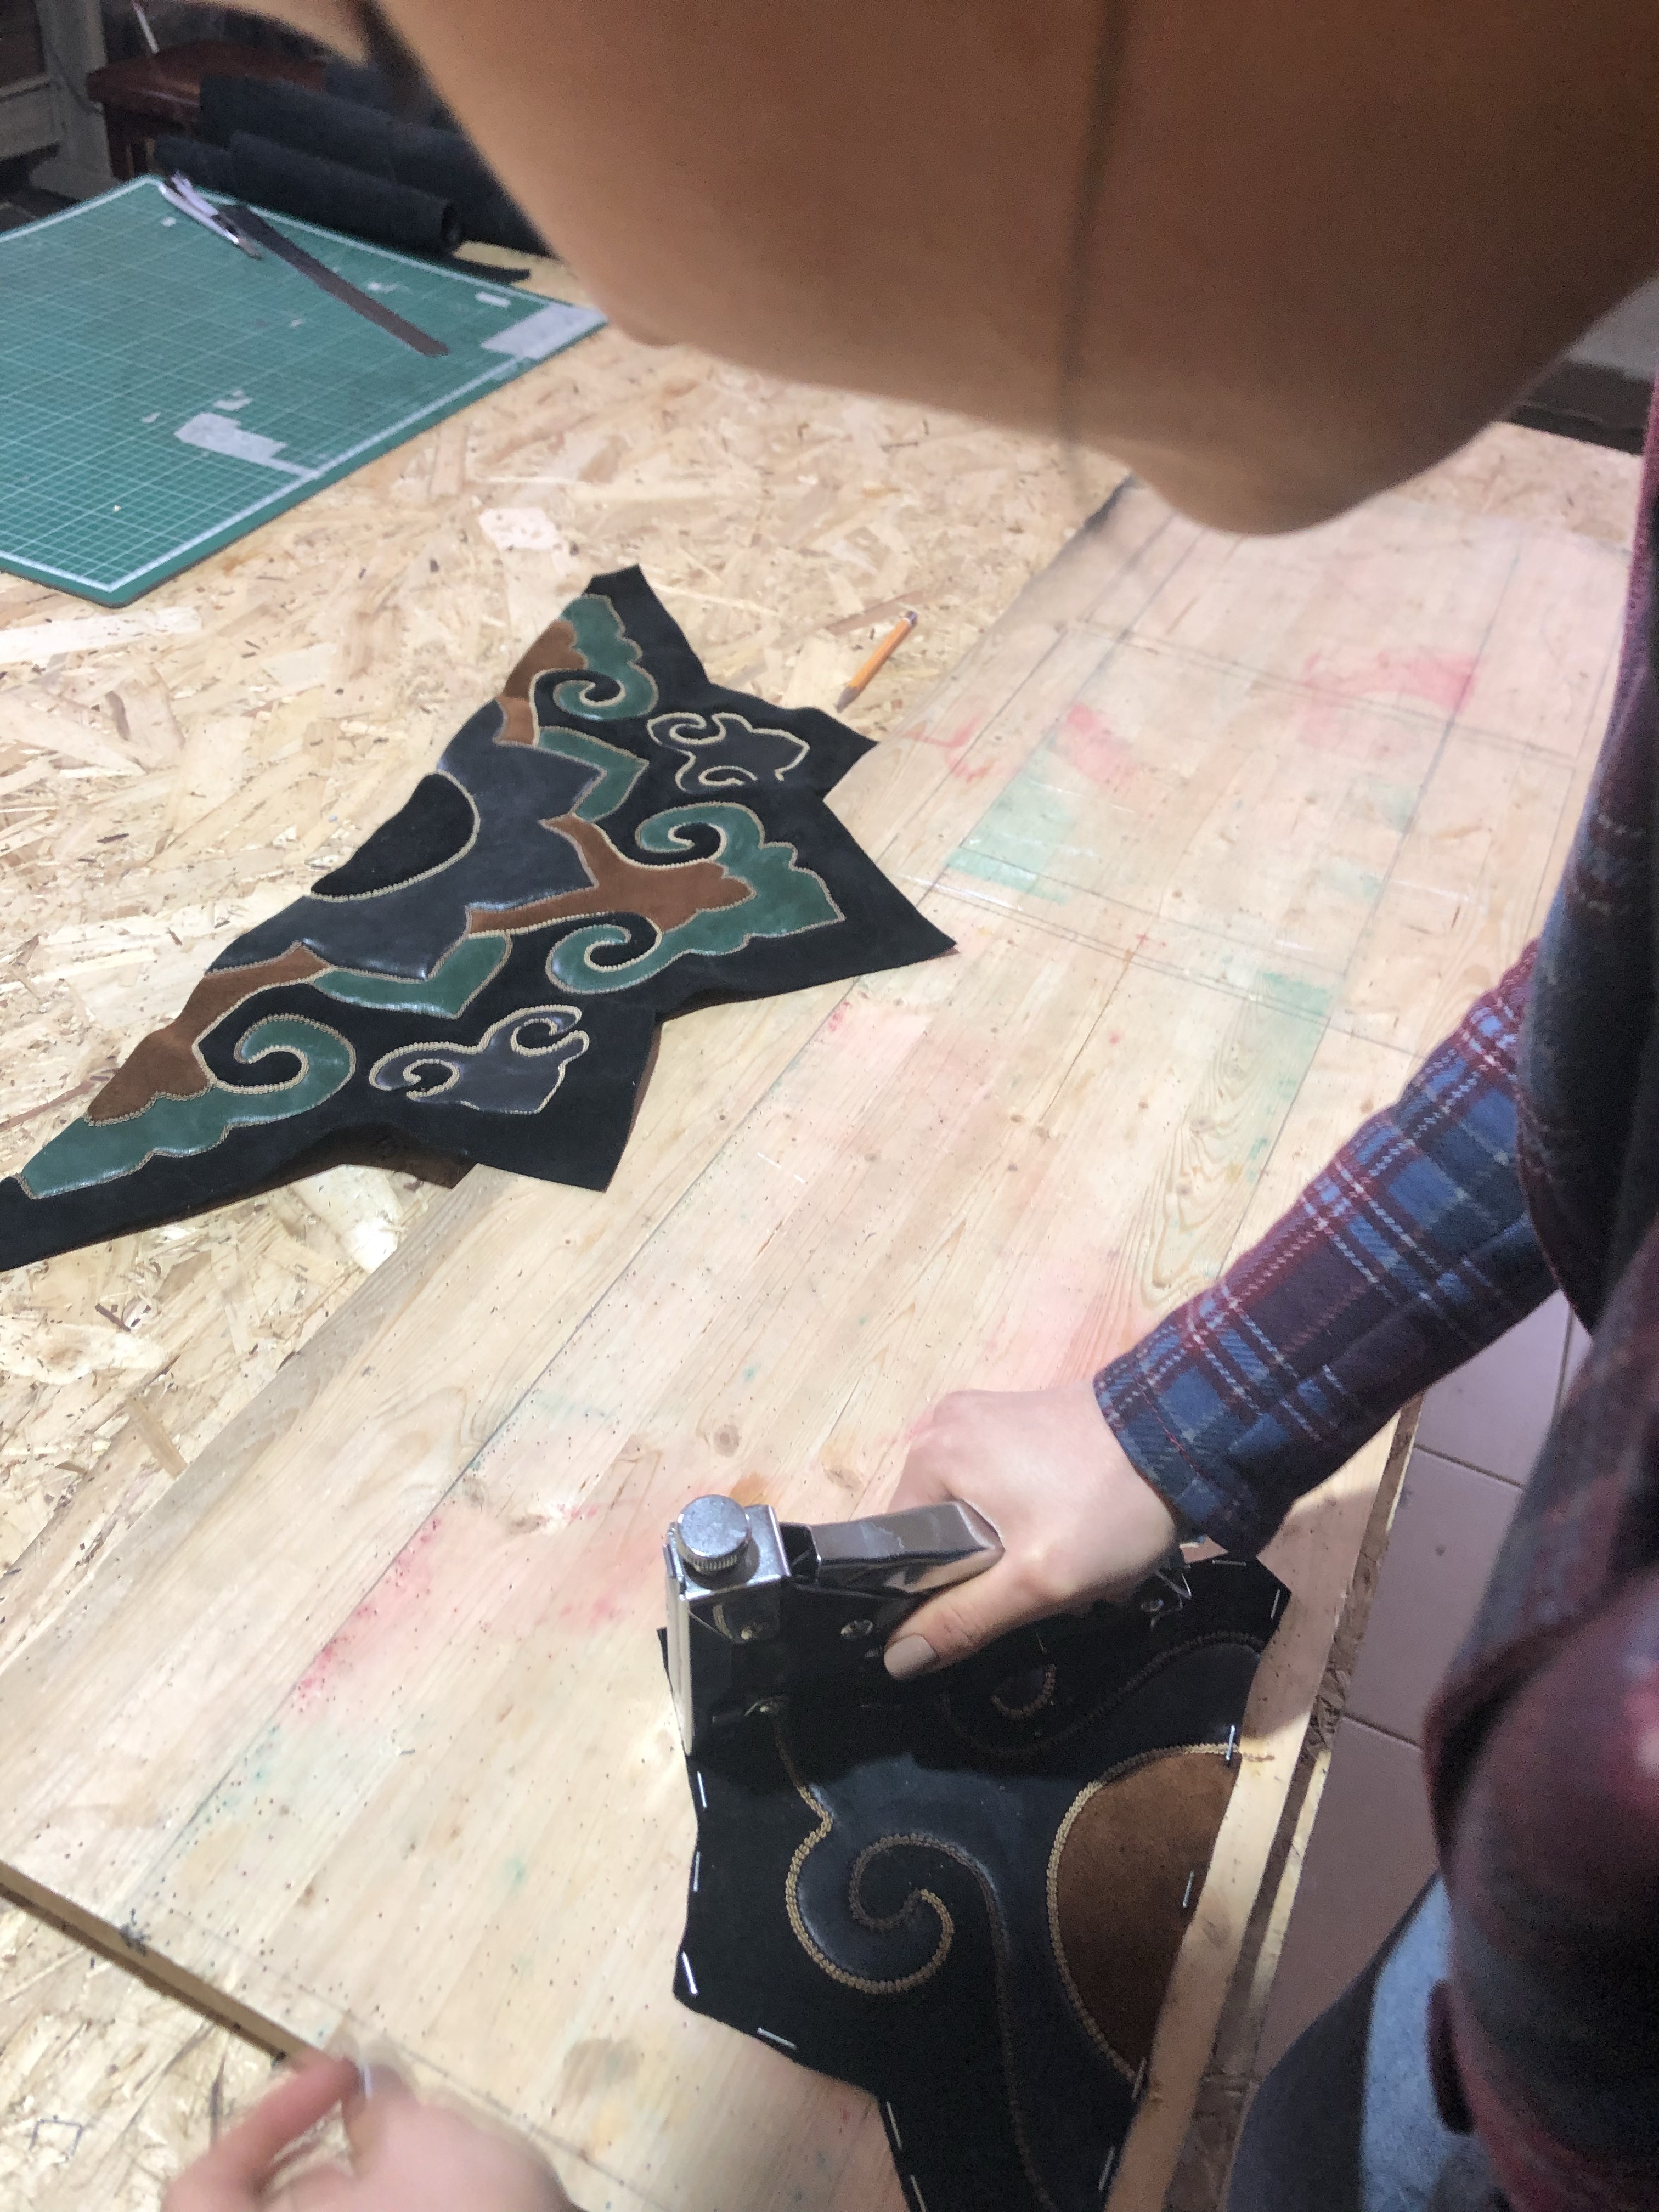
4. Assembling leather patterns
- Assemble leather patterns in the chosen ornamental design. You may want to re-evaluate the color palette and make changes for thread color choices upon looking at actual unstitched mosaic.

- Place the assembled ornament with backside up. In order to avoid unnecessary shifting of the patterns when stitching, the inner side of the ornament needs to be marked.
- Mark small perpendicular lines every ½ inch (15 mm) on straight cuts or every ¼ inch (5 mm) on curved lines.

5. Preparing the embroidery thread
Traditional method that requires spindle: Measure about 2 yd. (1.5 m) of silk thread of one color. Cut it from the reel and lay out on the workbench. Repeat the procedure 3-5 times depending on the thickness of the thread. You will end up having up to 5 lines of colored silk thread. Hold loose threads’ tips together and make a loop around spindle to secure the threads. Hold unsecured end of embroidery thread with one hand and twist it until it places itself in spirals around the spindle. Continue spinning until the silk threads end.
Modernised method that does not require spindle: You can buy coloured pre-twisted threads in any craft store or online.
6. Threading the needle and awl
- Cut 40 inches of polychrome thread. Thread the darning needle. Make knot at the end. Beeswax it.
- Take the spool of polychrome thread again and cut another shorter length (about 20 inches).
- Thread the needle that is part of the awl. Fix the thread and coat the thread with a layer of beeswax.
7. Hand stitching the patterns
To produce “Kazan” stitching, follow the figures in the image and descriptions below:
- Place two leather details backside up on the top of the stitching stock so that the edges that to be stitched are on the center of the stock.
- Place the leather strap so that the area that needs to be stitched is in the center of the stitching stock and in the middle of leather strap.
- Provide sufficient pressure with your leg, when pressing the leather strap. Hold the pressure to secure the steady position of parts to be stitched.
- Take the spindle with twisted embroidery thread (or spool of pre-made), make the knot at the loose end and place it under the closest leather strap.
- Take the threaded awl with dominant hand and poke a hole in one the detail (Figure 1).
- Make three circles around the awl’s needle.
- Poke a hole on the other detail, so the 3 scrolls of embroidery thread are between two details. Hold the awl such that the needle and polychrome thread are sticking on the other end of the detail (Figure 3).
- Take darning needle with non-dominant hand, fit it in the space between awl needle and polychrome thread, and draw out the thread that belongs to darning needle (Figure 4).
- Now you have the polychrome threads on both sides of the stitching stock: one with darning needle, another with awl needle. Tighten the stitch by pulling left-and right until it is tight and strong (Figure 5).
- Finish up the working leather section by repeating steps 5 through 9. When you finish up stitching the section, release the foot pressure and arrange the next section as mentioned in step 1 and 2.
- When the details are stitched together, fix the threads by making the knots.
8. Stretching mosaic leather
Have the following ready: wooden plank, hammer, stapler, sprayer with water.
- Liberally wet the back side of the mosaic with the sprayer. If there is an excessive amount of water, gather it with sponge.
- On wooden plank, which should be a bit larger than the mosaic, place the paper template.
- Place wet leather mosaic backside up on the template and start stretching the mosaic gently.
- Starting from the corners of the item, partially hammer the nails onto edges of the leatherwork. The distance between the nails is up to your discretion. The goal is to stretch the piece so it looks naturally smooth.
- Let the leather mosaic dry for a day. Make sure there is no direct sun or sources of heat close by. If the mosaic still looks wrinkled when it is dry, you may need to repeat the stretching the process again.
Several other videos showcasing the stitch:

Amazing and inspiring.
thank you for the technique
Wonderful instructions and detail. Thank you.
Pingback: Kazan is TripAdvisor’s Destinations on the Rise | Unique Leather Mosaic
Great craft nicely explain- i will be participating in the Worldskills competition and am looking forward to it
Pingback: It is time for a hat! One-of-a-kind hat! | Unique Leather Mosaic
Pingback: Unique Leather Mosaic